The mechanical fuel pump on my Travco's Kohler
generator went out and neither a mechanical replacement (A-241196) nor a repair kit (241197) is available. Electric replacements are available, but I want to keep it close to “stock.” I bought a used one on ebay, but the valves in it were
bad. So I was in search for replacement parts and
found that Airtex 572 (fits a 1966 Jeep C5 I4) has the parts needed
to rebuild the innards of the pump. The top half is a direct
replacement, but the base will need to be cannibalized for the
diaphragm, spring and oil seal to be installed in your existing fuel
pump. Note that if you don't care about having a priming lever, you can just move your old outer arm to the new unit.
On the new 572 pump, remove the
spring between the outer arm and body. Remove the 6 screws securing
the two halves, holding the two halves together by hand until the
last screw is removed.
Set the top half aside. Using a hammer and
punch, drive-out the pin in the base enough to remove outer arm, but you may leave it in one side of the body. The outer arm
should fall out, depress the diaphragm and pull the inner arm out
with pliers. Remove the diaphragm, spring and oil seal (with washer)
and set aside.
On the A-241196, remove the
spring between the outer arm and body, note the orientation of the top to the base for later, remove the 6 screws securing
the two halves, holding the two halves together by hand until the
last screw is removed. Put the old top in old parts bin or metal
recycling bin. Using a hammer and punch, drive-out the pin in the
base enough to remove the outer arm, but you may leave it in one
side of the body. The outer arm should fall out, depress the
diaphragm and pull the inner arm out with pliers. Remove the
diaphragm, spring and oil seal (with washer) and set aside.
Using the A-241196 base (only because
it has a priming lever, otherwise use the 572 base), I noticed the
holes in the diaphragm did not line-up, so I used the A-241196 base as a
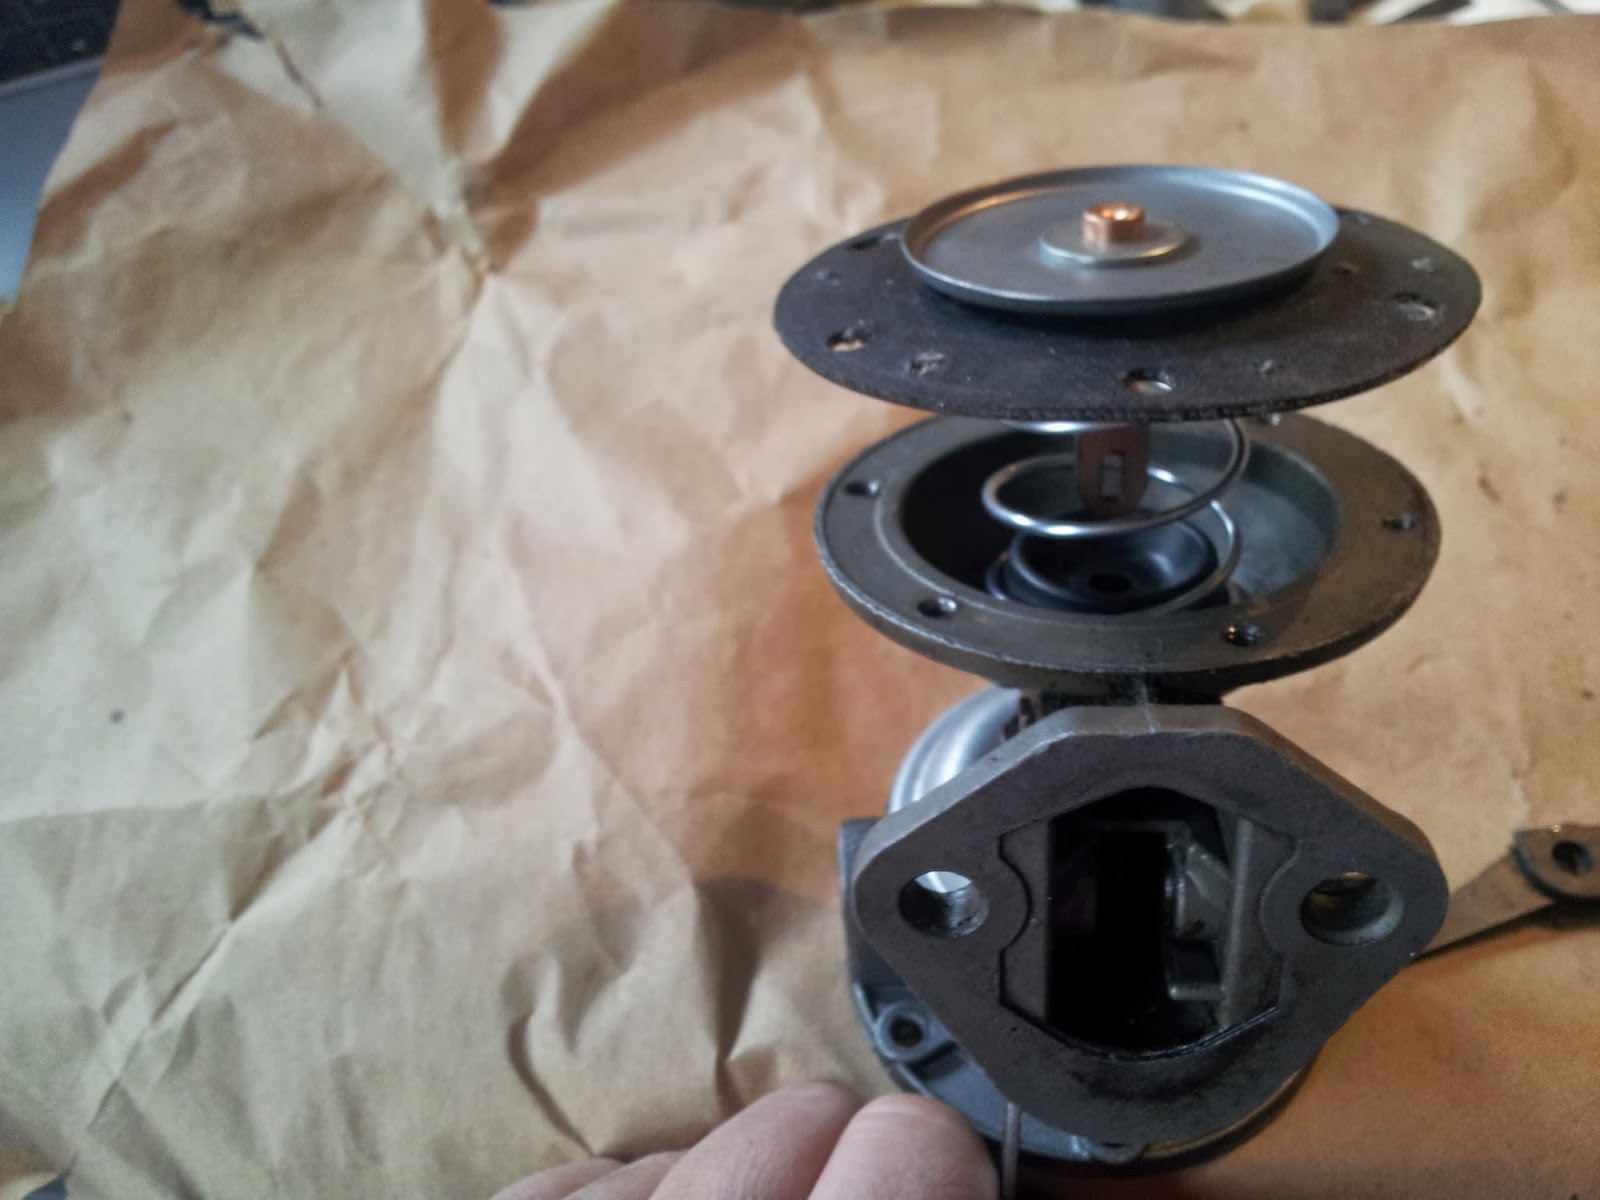
template to drill new holes. Then insert the donor oil seal, washer & spring, placing diaphragm through with slot in shaft toward the
opening for the arm. Depress the diaphragm and using pliers place the
small arm in the slot in the diaphragm shaft (hook away from diaphragm). Turn it upside down and
insert the outer arm over the inner arm and insert a temporary pin to
hold it inline. Drive the pump pin back into place from the other
side. Place the 572 top over the diaphragm and orient on the A-241196 base the same as originally oriented, insert the screws though the top, diaphragm and base, but only to tighten to 1 mm gap between the two halves. Depress the outer arm until the diaphragm is about even with the joint. Tighten snug, release the arm, then tighten all screws firmly. Install loosely into engine, and bump start switch until pressure is removed from outer arm to increase ease of installation. Reattach lines, check your oil in engine & air filter & check coolant. Prime the pump, start the genny and check for leaks! DONE!
 |
| Airtex 572 |
 |
| Kohler A-241196 |
 |
| Remove inner arm |
 |
| Donor Parts |
 |
| A-241196 parts |
 |
| Donor parts stack-up on A-241196 base |
 |
| Inner arm reinserted |
 |
| Rebuilt Pump with new clear view fuel filter installed |


